Setting it up
Nine screens if you connect Google, fewer if you paste a webcal or upload an .ics file instead. The one that takes longest is the second, and only because it happens on Apple’s site rather than ours. Google is optional: after iCloud you can skip those two screens and paste a subscription URL or upload a file.
Sign in with Apple
This only identifies you. It gives us no access to your calendars at all — that comes later, and separately.
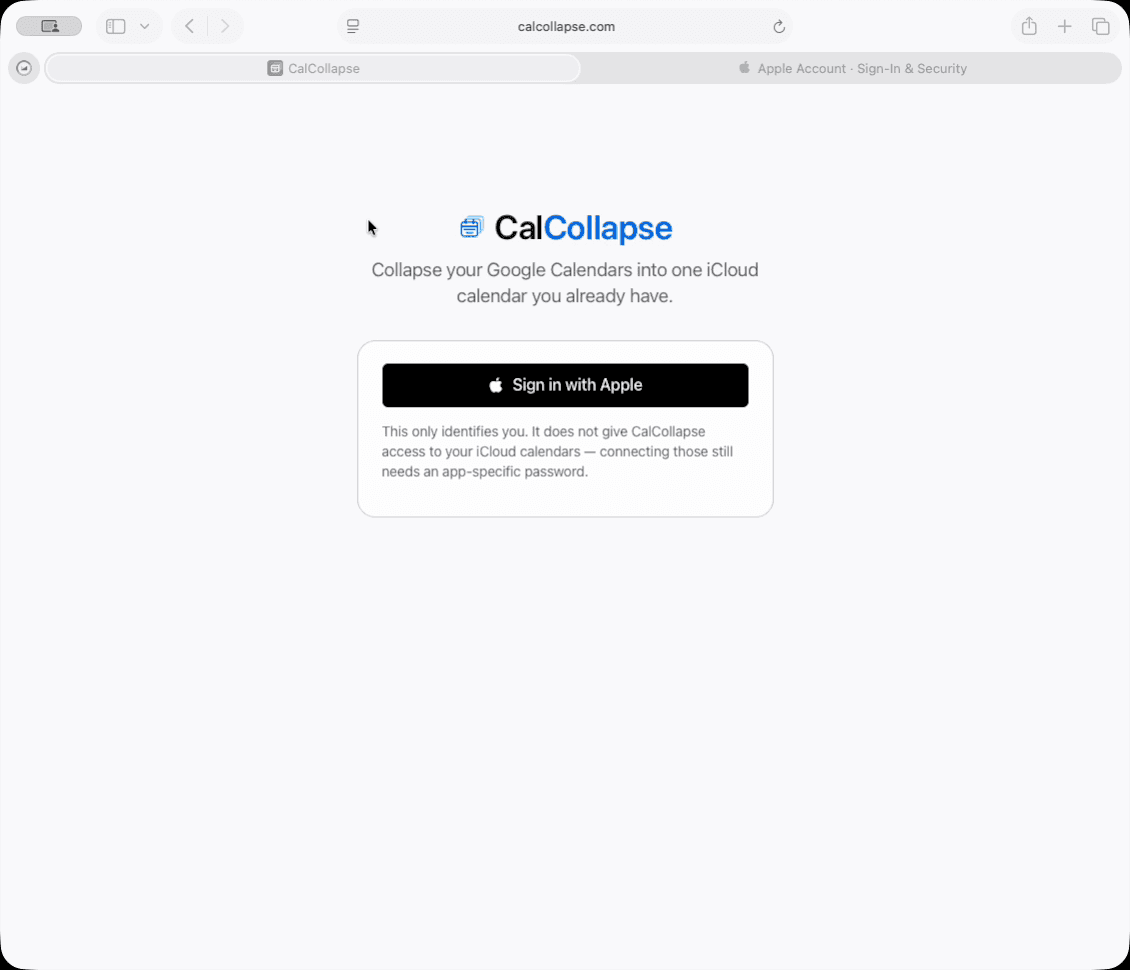
Open Sign-In & Security at account.apple.com
In a second tab, sign in to your Apple Account and find App-Specific Passwords at the bottom of the Sign-In & Security page.
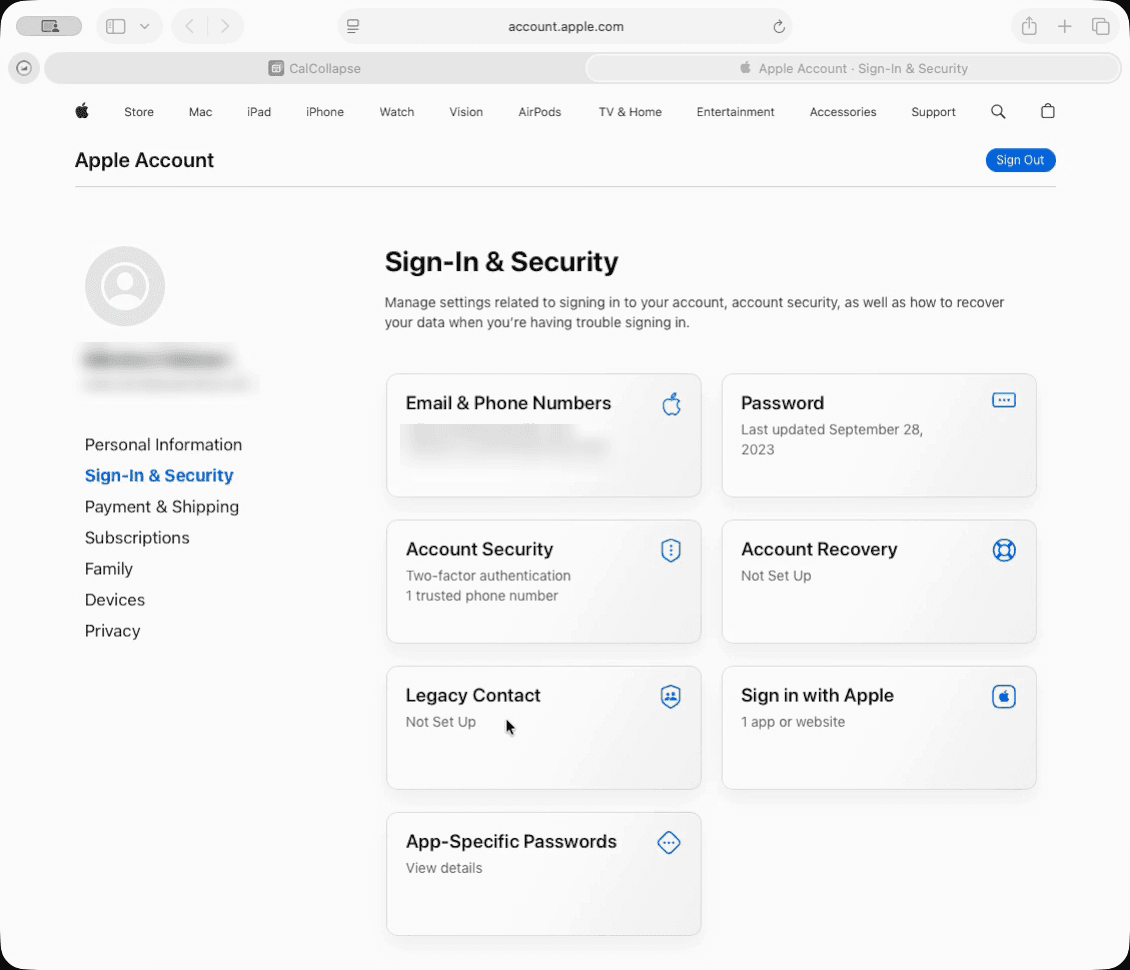
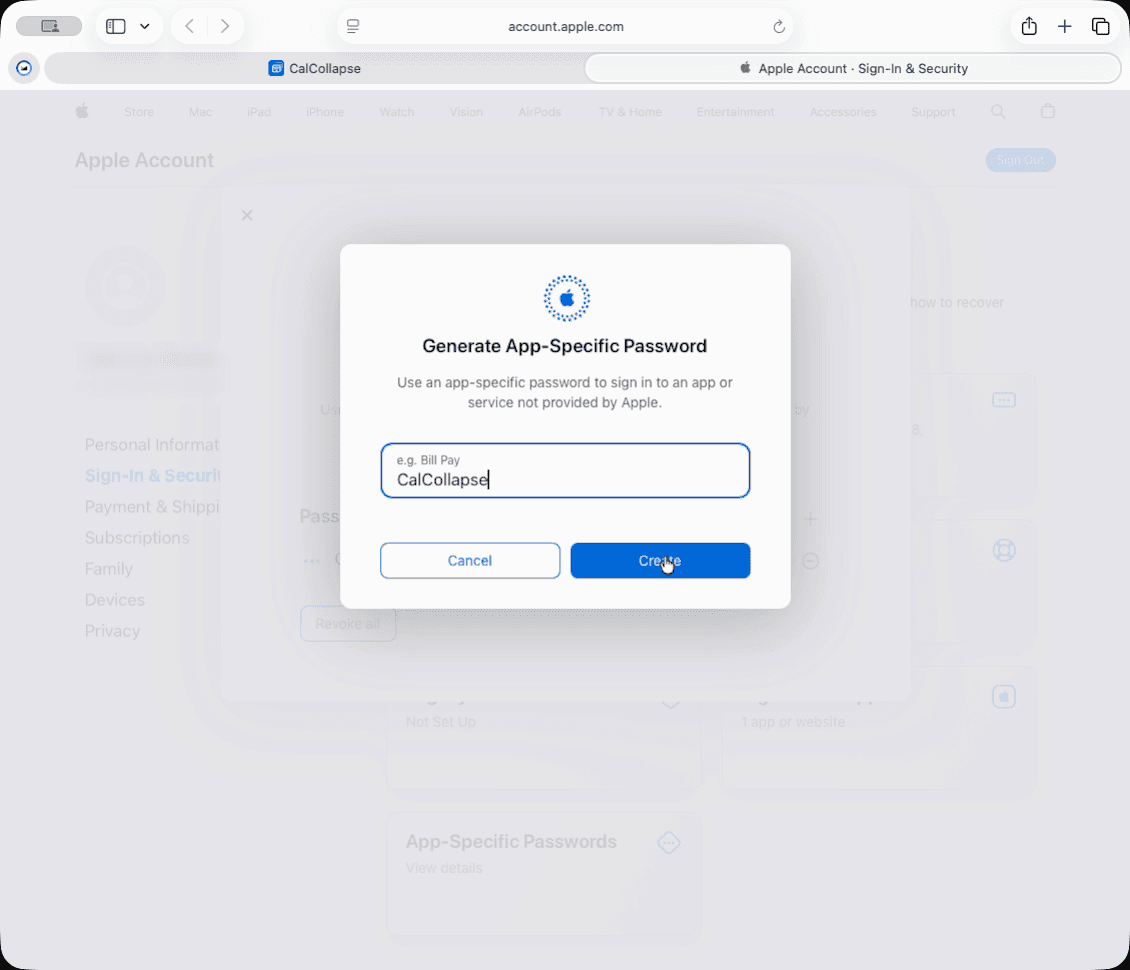
Generate one, and name it CalCollapse
The name is only a label for your own records. It is what you will look for later if you decide to revoke it.
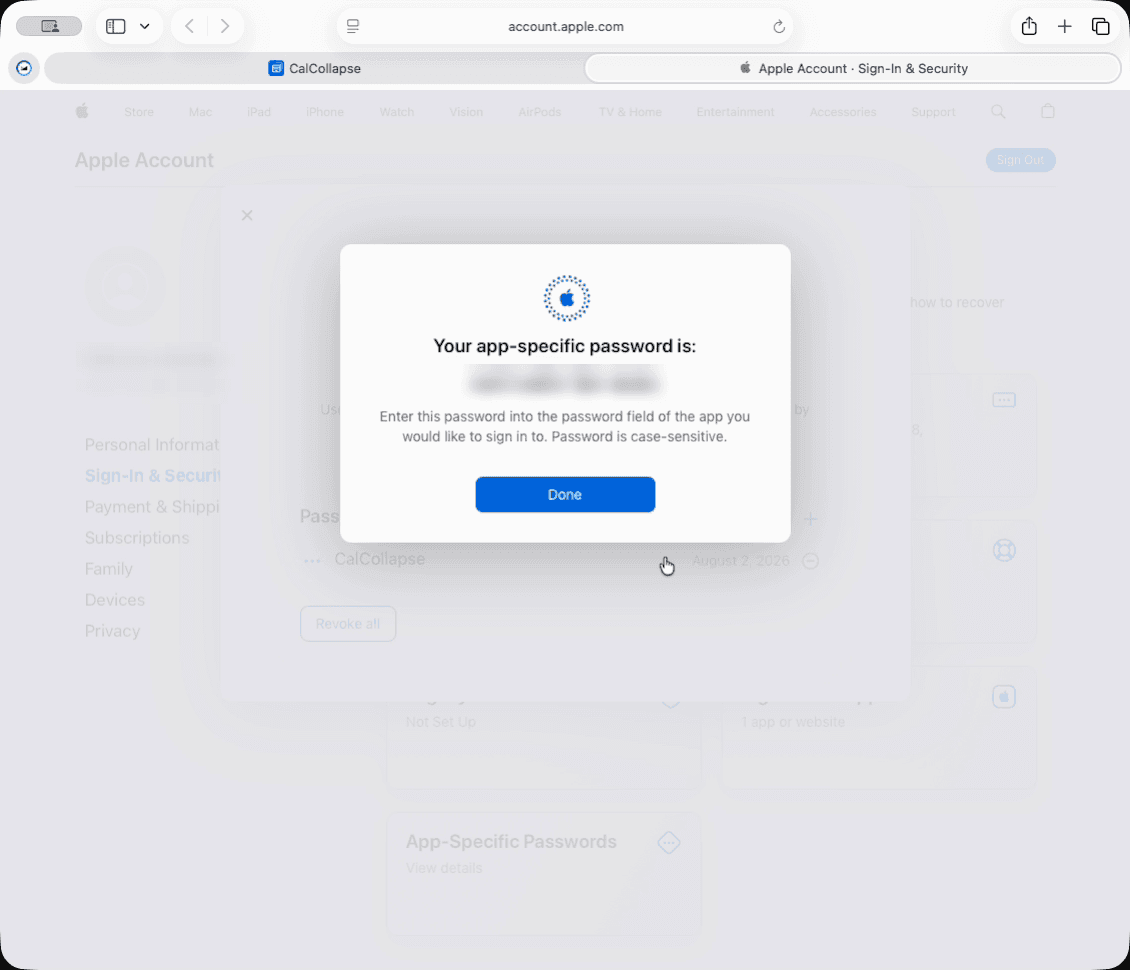
Copy the password Apple shows you
Four groups of four letters. Apple shows it once and never again, so copy it before closing the dialog.
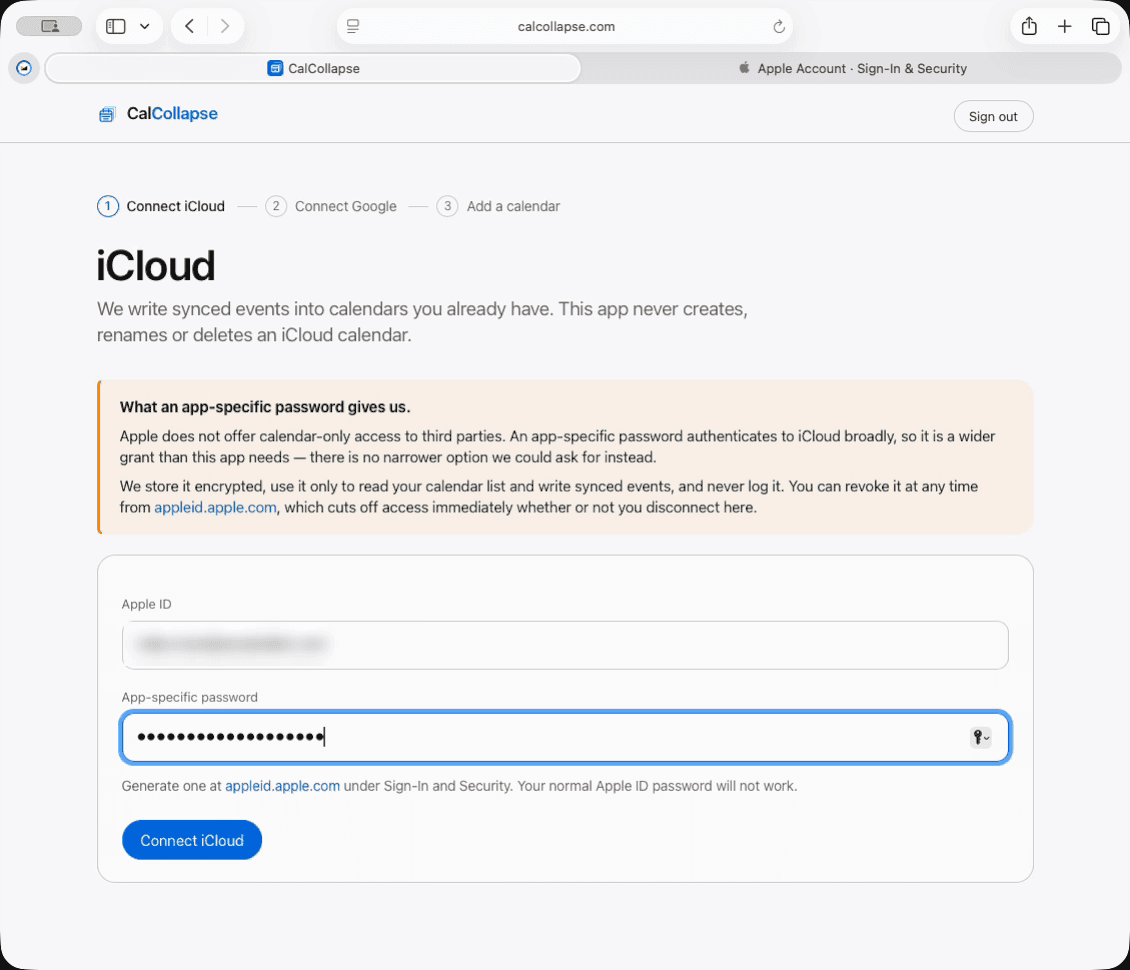
Connect iCloud
Back on CalCollapse, enter your Apple ID and paste the app-specific password. Your normal Apple ID password will not work here, which is the point of the other one.
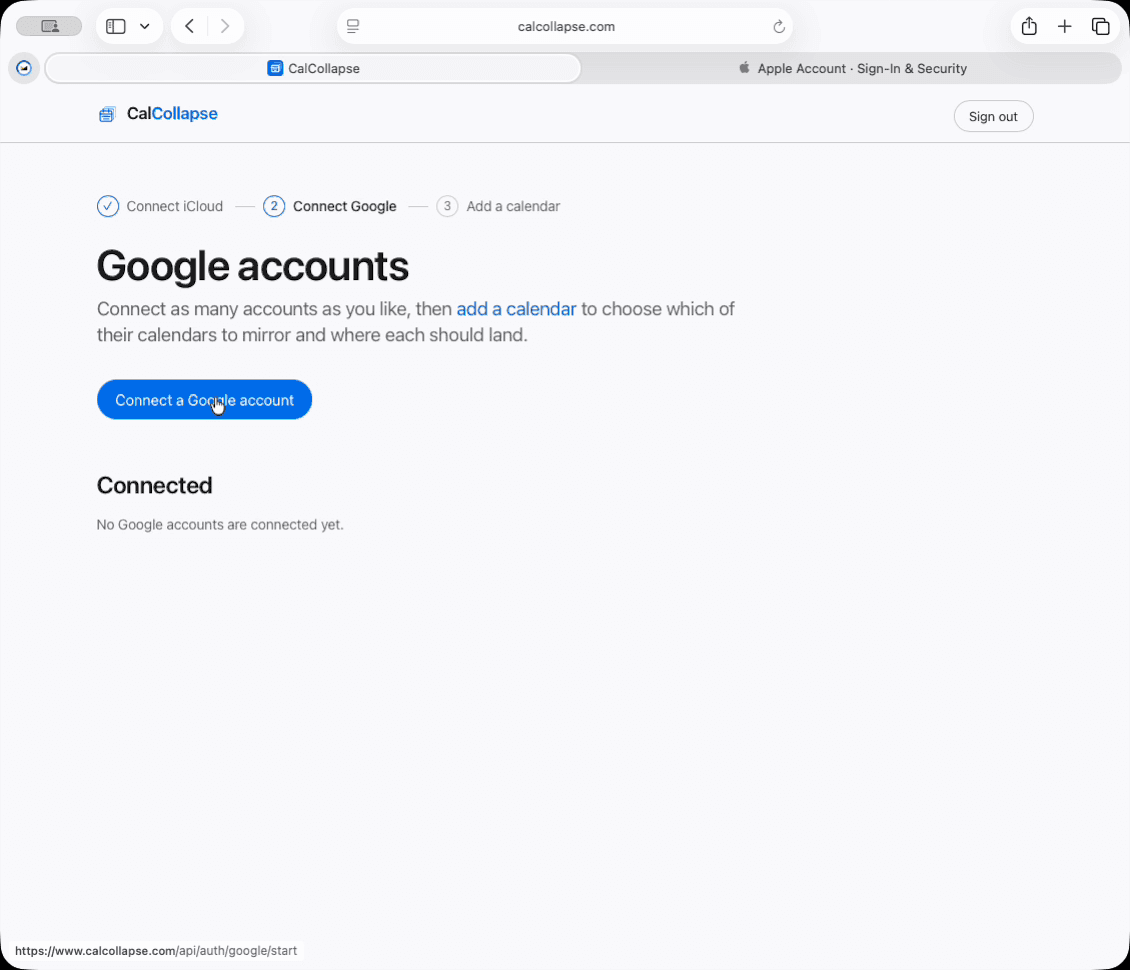
Connect a Google account
Optional. Connect as many as you like, or skip this and paste a webcal URL on the next screen instead. Each Google account is a separate authorization, and you can disconnect any of them without touching the others.
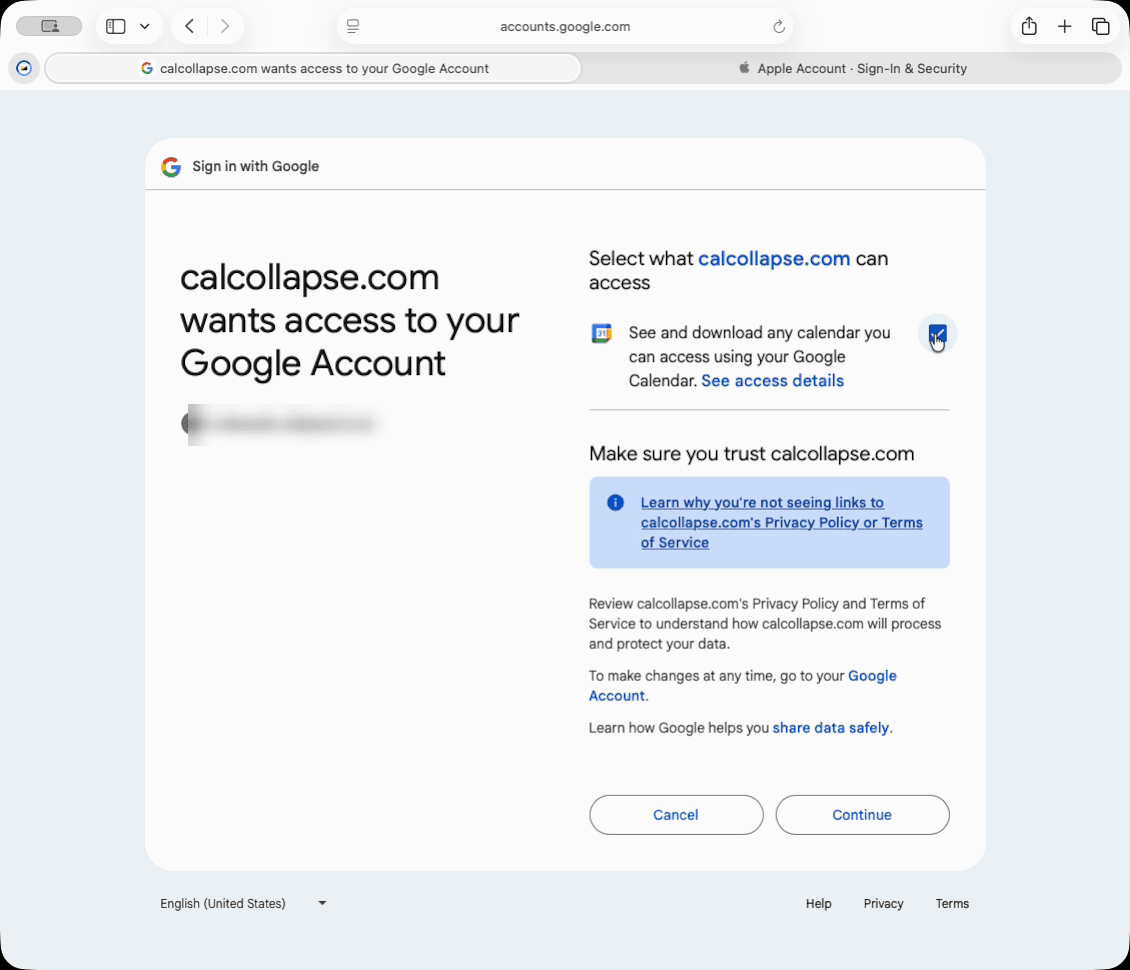
Give Google’s consent screen read access
The one permission asked for is reading your calendars. There is no box here that would let us write to Google, and we never do.
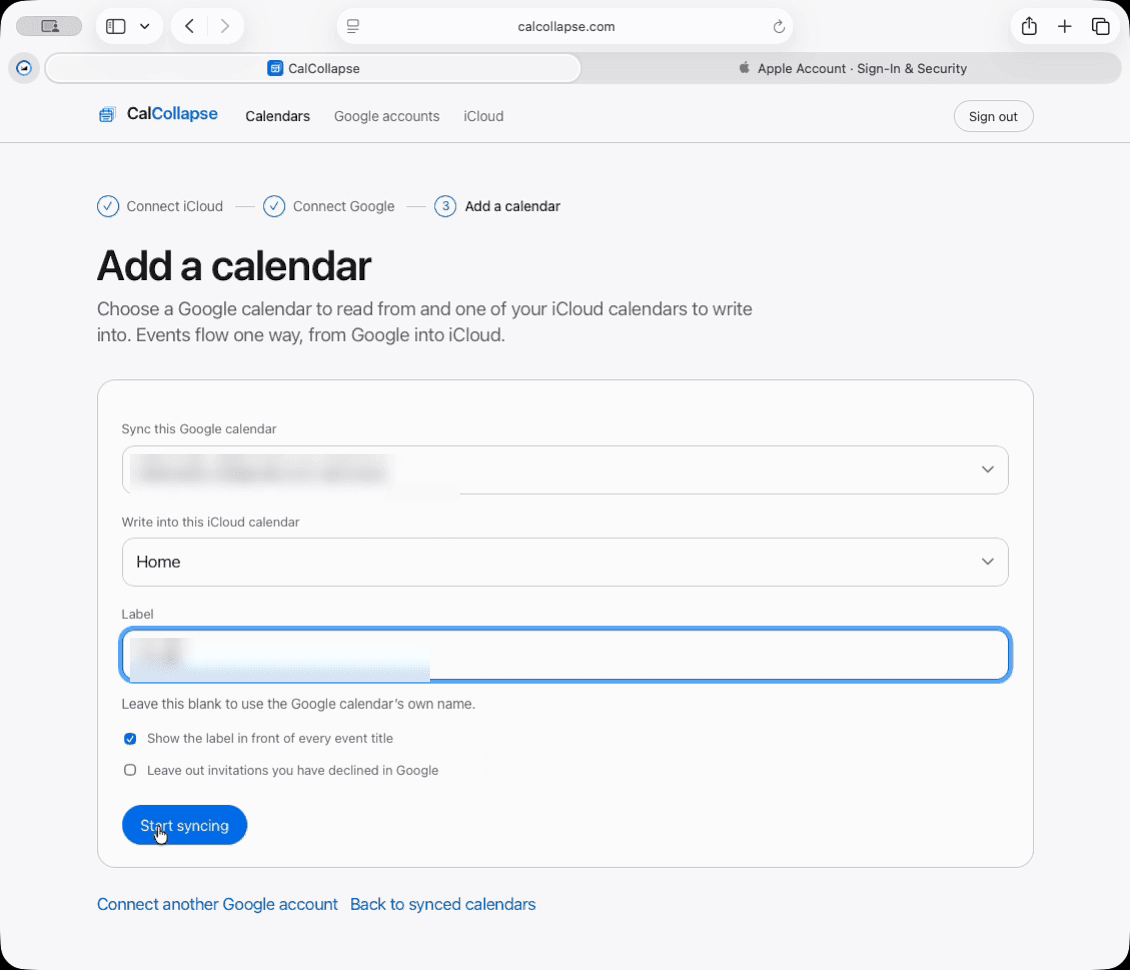
Pair a calendar with an iCloud one
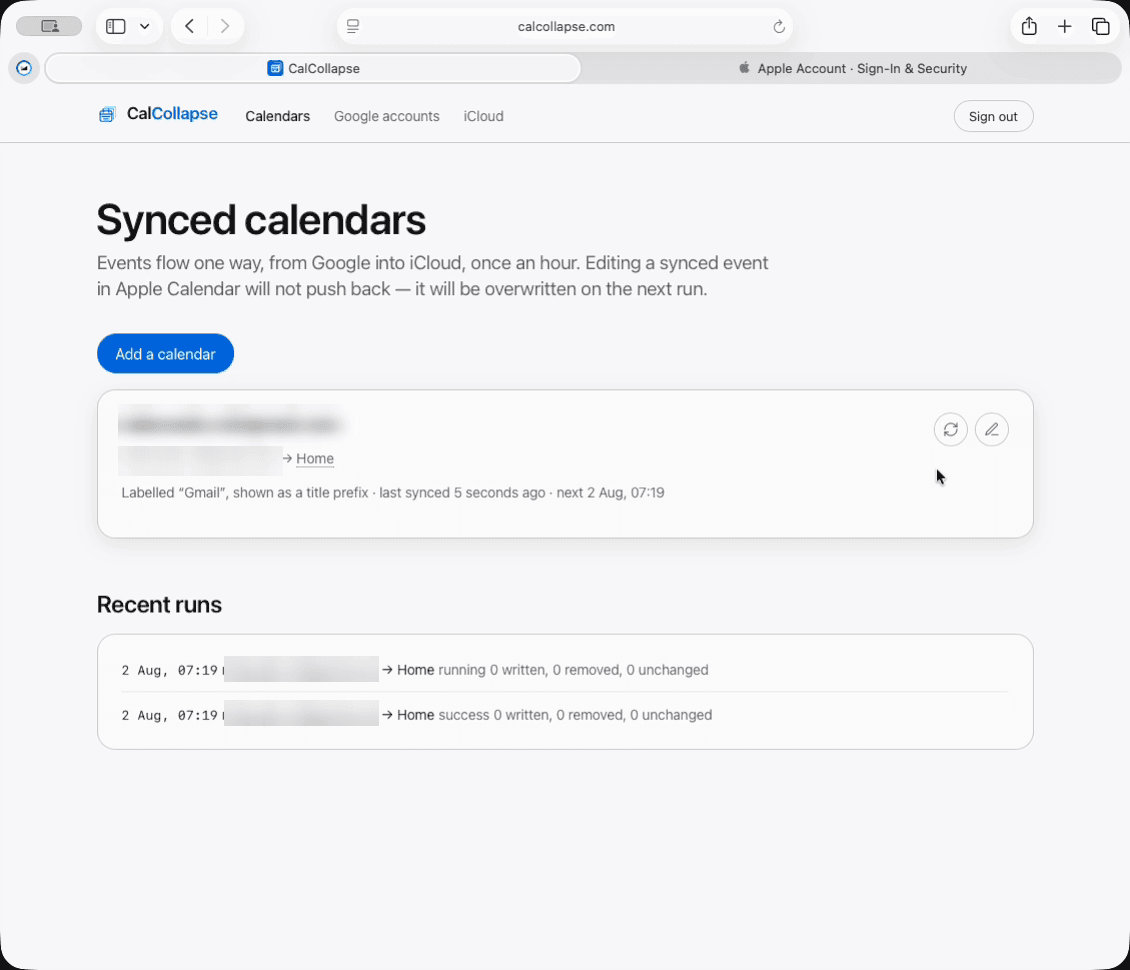
Choose a Google calendar, paste a webcal URL, or upload an .ics file, and pick which of your existing iCloud calendars its events should land in. Several sources can share the same destination. Events arrive labelled with the calendar’s own name, in front of every title — [Work] Team standup — so you can tell where each one came from once they are all in one place.
That is setup
The first sync runs immediately, and after that within a minute of any change. The run log underneath tells you what each one moved.
Still deciding? The questions cover what flows where, what we store, and how to take access back.